The cooking-themed party for our four-year-old daughter’s birthday was a big hit!
Invitations

We lucked out finding these store-bought invitations, but you could make something similar with any publishing software. Inside, along with the basic party information, our daughter personalized the invitations with cooking-themed stickers.
Guests
One of the secrets to this party’s success was a small group of guests. I had heard that the number of guests ideally should equal the age in years of the birthday child, and that seemed to be the perfect number for this party. We wanted to be sure everyone fit around one table and had plenty of attention.
Decorations and party favors
For birthdays at home, our children were always involved in creating decorations and party favors. Getting ready was part of the fun! For this party, the girls made cookie decorations out of brown paper circles colored with dark brown spots (for chocolate chips). They glued together two circles, lightly stuffed with newspaper, and we hung them from our dining room light fixture with ribbon.
A red-and-white checkered tablecloth and checkered napkins completed the look. We also had a play kitchen and lots of mixing bowls, spoons, oven mitts, cookie sheets, and baking supplies on hand for imaginary play.
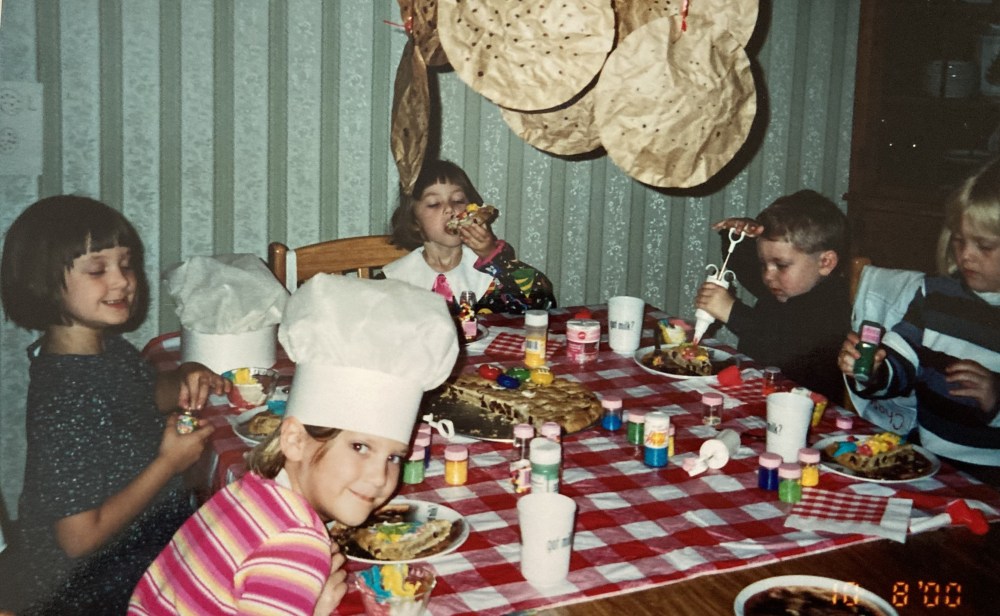
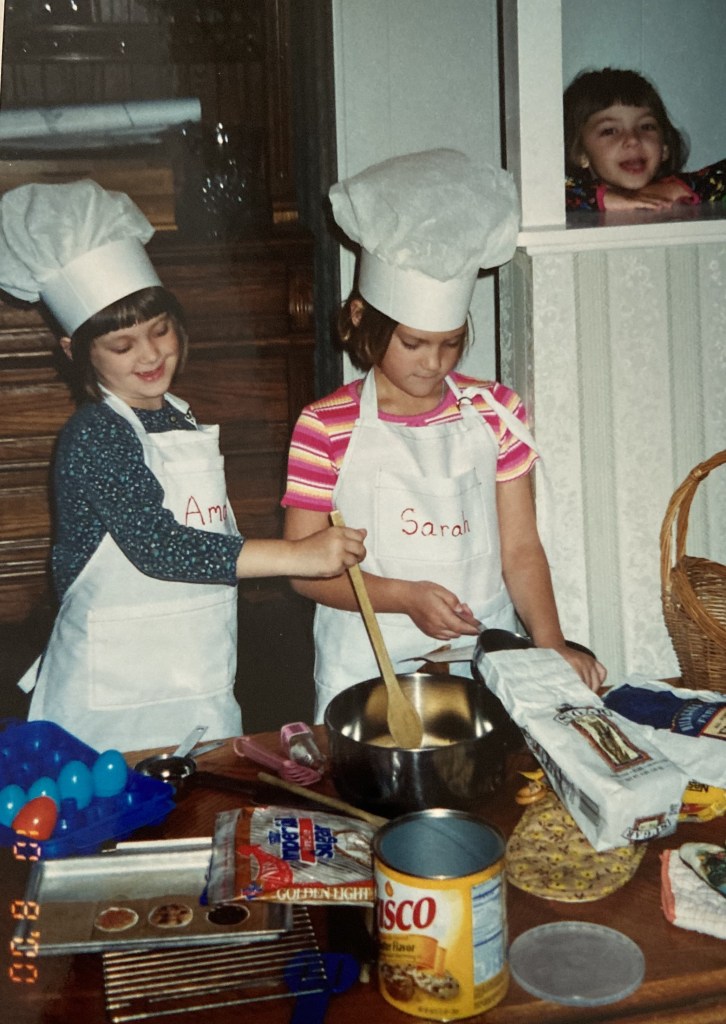
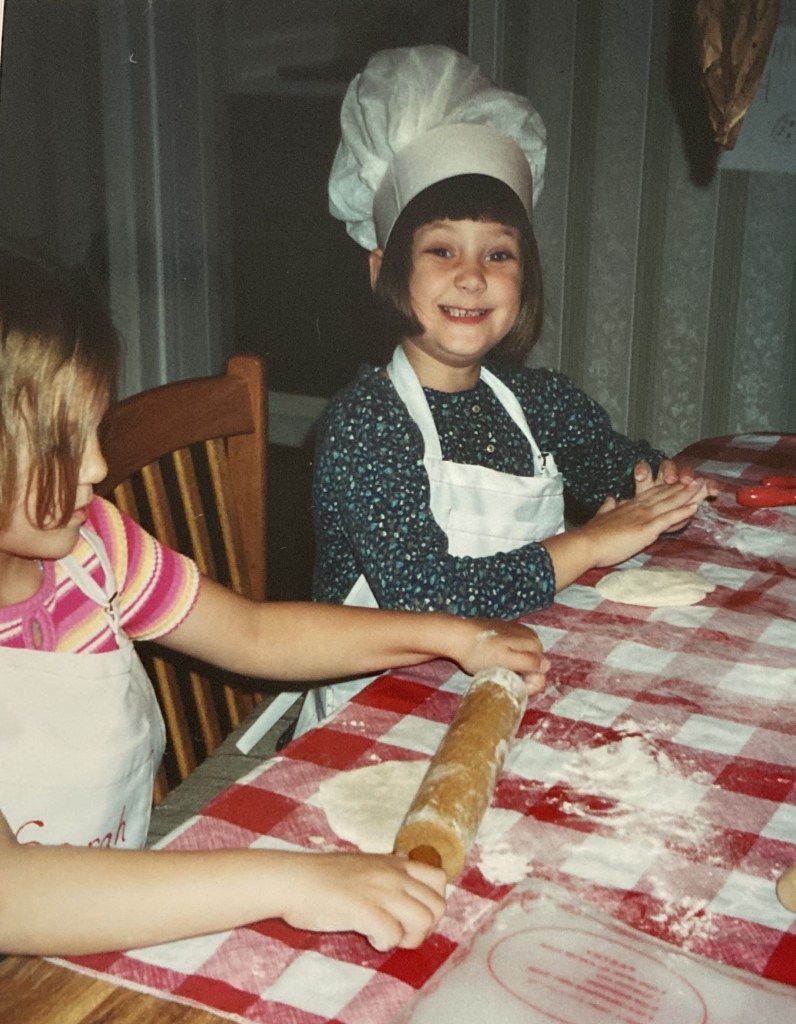
Before the party, we made chef’s hats for each child out of tagboard and crepe paper.
- Cut a band of white posterboard, 3.5″ x 23″.
- Tape two ends together, using your child’s head as a guide. You can make some larger and some smaller, depending upon the age and size of your guests.
- Cut a 22″ square of white crepe paper–not tissue paper. Crepe paper will not tear as easily and can be gathered to fit the hat band. You should be able to find crepe paper at a craft store, but if not, a white paper tablecloth will work.
- Set the tagboard circle on top of the crepe paper and pull the paper through, randomly gathering it and poufing it out on top.
- Tape the crepe paper in place inside the hat band.
I made white aprons for each child and personalized them with red fabric paint. You can find an apron pattern at most fabric stores. If you’re not a sewer, white aprons can be purchased at many online sites.

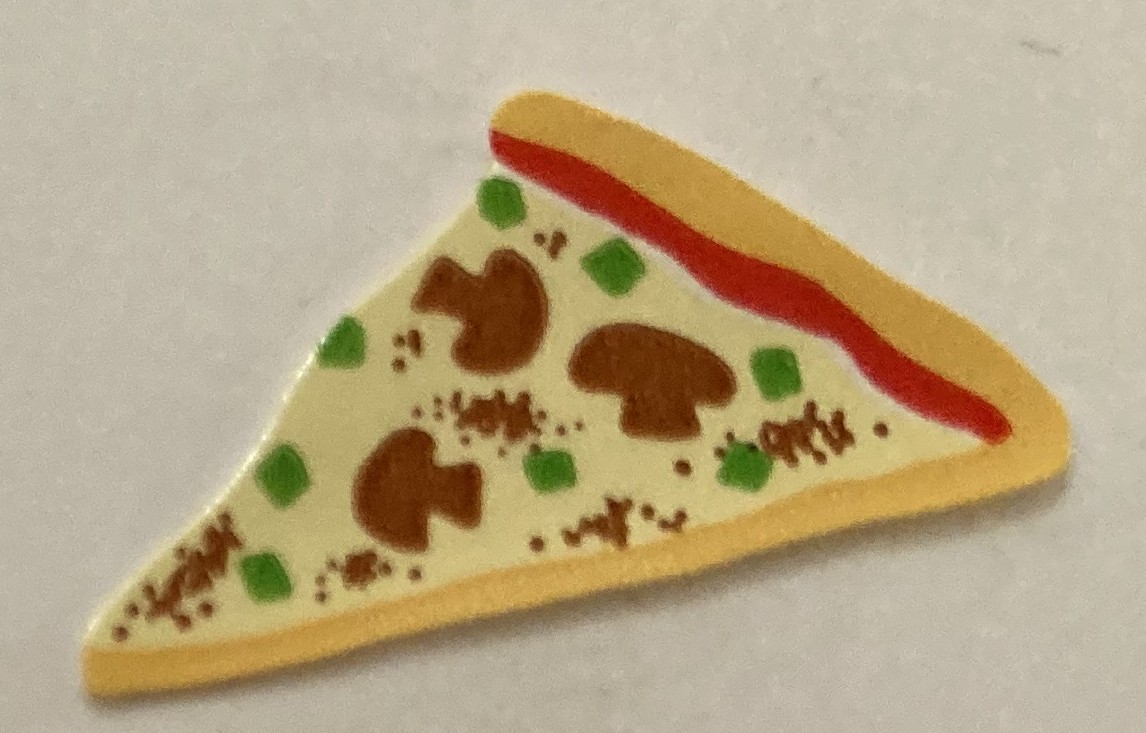
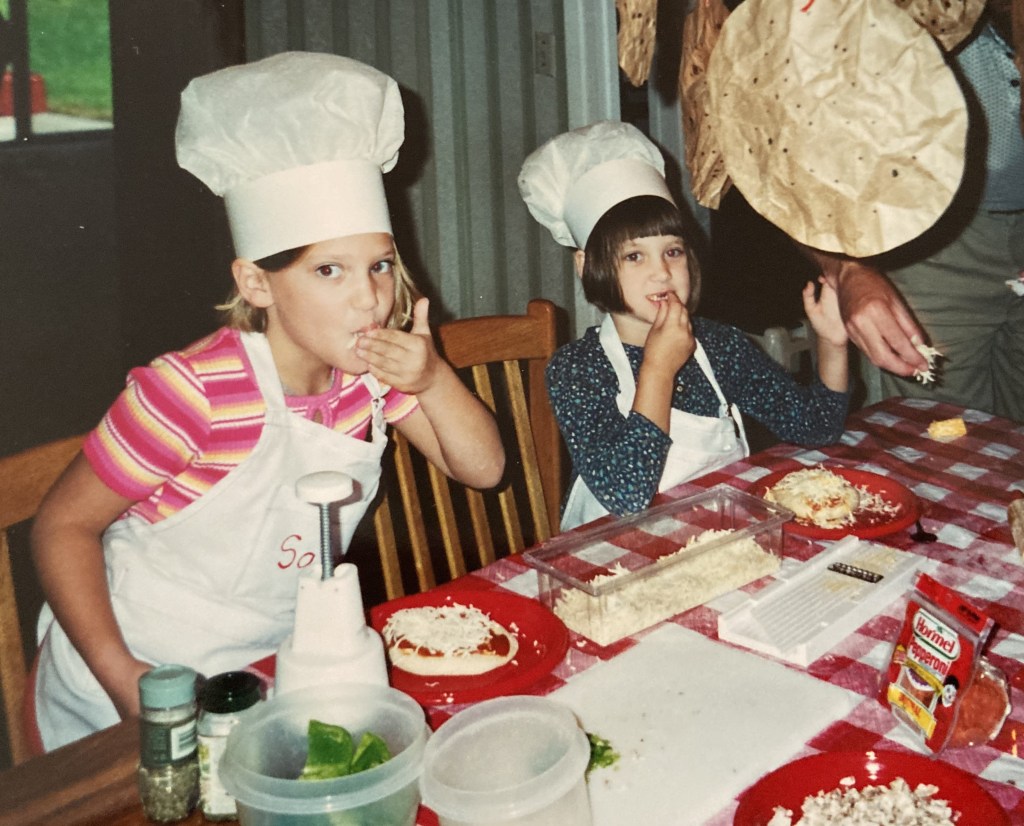
The main course
One of the features of the cooking party was making homemade personal pizzas. Earlier in the day I prepared the yeast dough and let it rise. Of course, my daughters helped by adding ingredients and kneading the dough. We timed the dough so it would be ready at party time (about 2 1/2 – 3 hours of rising).
Here’s our recipe for Pamela’s Party Pizza:
- 2 pkg. (1/4 oz. each) active dry yeast
- 1 1/4 cup very warm water
- 3 1/2 cups flour
- 2 tsp. salt
- 2 T. olive oil
- 1 cup pizza sauce
- 3 cups shredded cheese (Mozzarella or your favorite)
- toppings of choice: pepperoni (I recommend mini pepperonis), bell peppers, onions, basil
This recipe makes 12 mini pizzas.
Dissolve yeast in 1 1/4 cup very warm water (100-110 degrees). If you don’t have a cooking thermometer, hold your hand under hot running water. If the water feels warm but you can still hold your hand there for 10 seconds, it’s just right. Let the yeast mixture set five minutes. In a medium bowl, combine flour and salt.
Add yeast and oil to flour. Mix dough until ingredients form a ball. Place dough on lightly-floured work surface. With floured hands, knead 5-6 minutes, until smooth and pliable. If dough is too sticky, add a little more flour.
Place dough in a large, lightly-greased bowl and turn dough in bowl to coat. Cover bowl with a damp, clean kitchen towel and let rise in a warm, draft-free place about 2 1/2- 3 hours. Dough should double in size and be springy.
Heat oven to 425 degrees F.
Punch down dough once with a fist and place on lightly-floured work surface. Divide dough into 12 pieces. Roll out each portion, gently stretching it with floured hands, into a 5-6″ circle. Place on baking sheet. Prick crust all over with a fork and then brush with olive oil.
Bake crusts about 10 minutes. While crusts are baking, prepare toppings by chopping veggies, etc.
Top baked crusts with pizza sauce, cheese, and choice of toppings. Bake 5-6 minutes more or until dough is lightly browned and cheese is melted.


Something that makes pizza prep even more fun for kids is being able to chop veggies safely. We bought this Zyliss food chopper about 25 years ago, but there are still similar models available. I highly recommend it!
Just put a piece of bell pepper, onion, etc. on a cutting board, set the chopper over the top, and whack the handle! The more you whack, the smaller the pieces become. Kids love it.

This pizza is good! It has become a family favorite that we have used regularly over the years.
Treasure hunt
Okay, I have to admit it. I’ll make a treasure hunt or scavenger hunt for almost any occasion. This birthday party was no exception. I created a treasure hunt that led the children to all of the ingredients in our chocolate chip cookie recipe.
Following rhyming clues, the kids searched around the house for shortening, sugar, brown sugar, (plastic) eggs, vanilla, flour, baking soda, salt, and chocolate chips. They were given one clue which led them to the first ingredient and another clue, which led them to the next ingredient, and so on. After they had finished the treasure hunt, they received this note: “You found all the ingredients. Good job, everyone! Look in the grocery bag to see what you’ve won!”

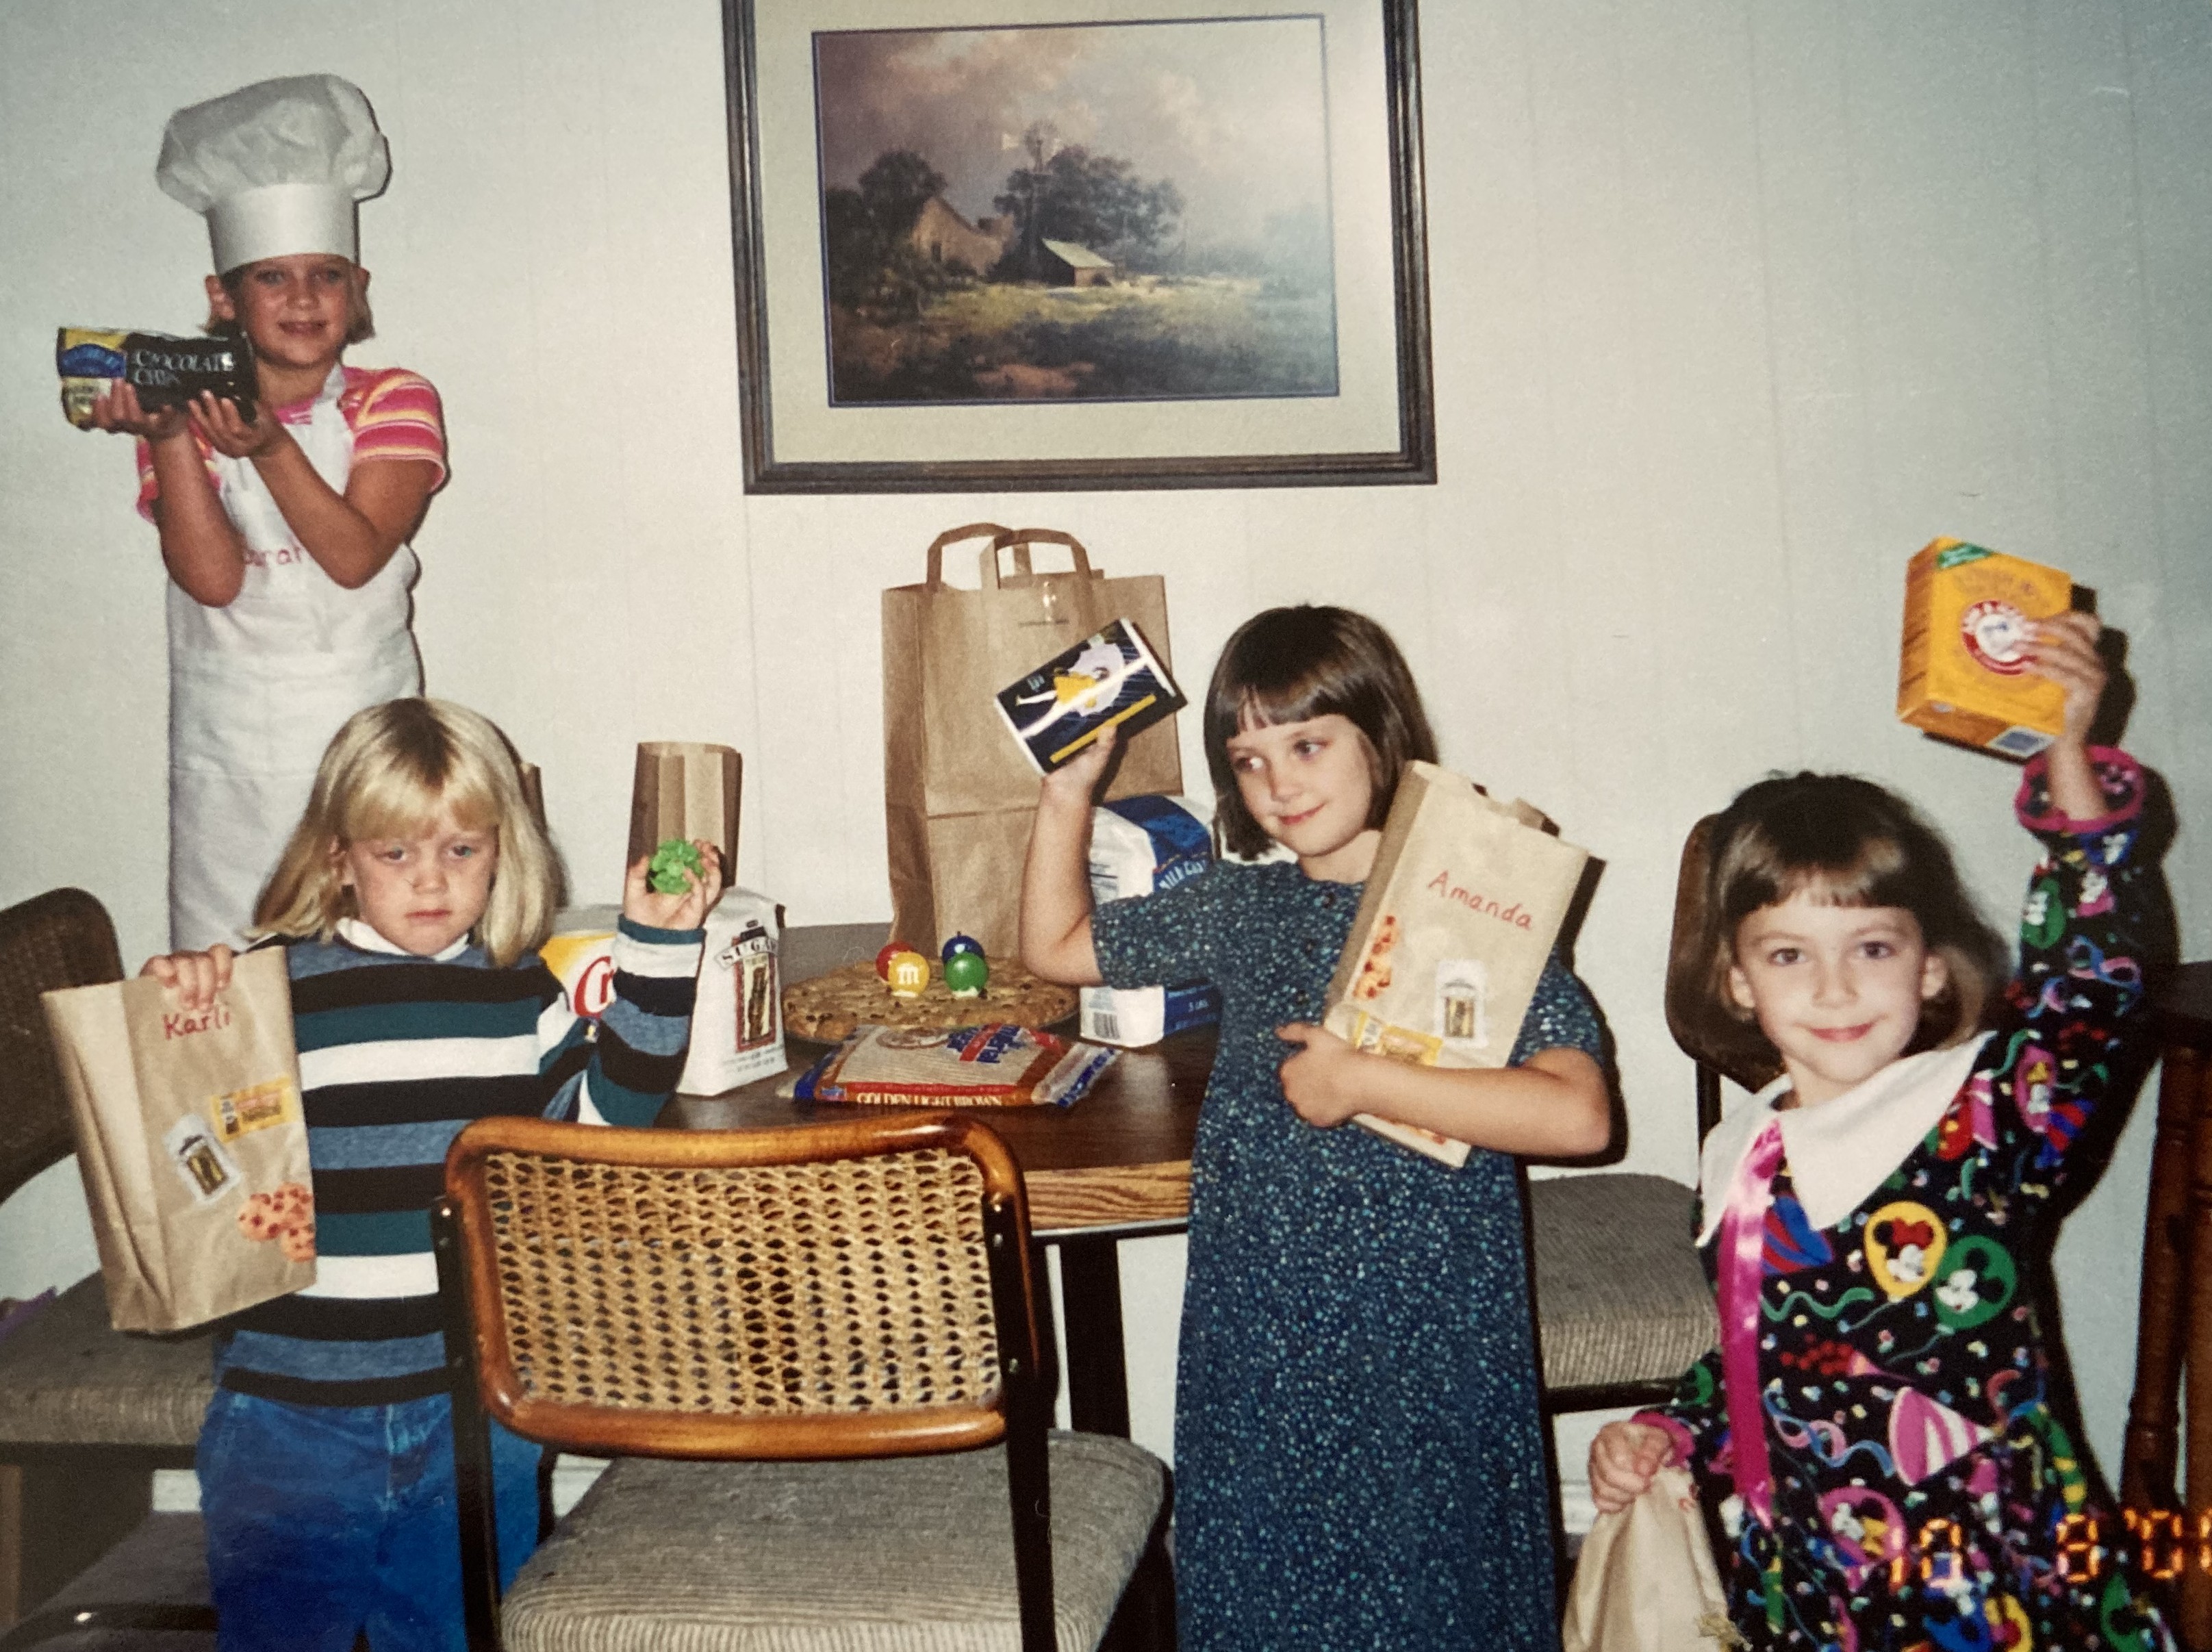
Inside the large grocery bag were smaller brown bags for each child with some little party favor treats. The small bags had been decorated ahead of time with images of cookie ingredients.
Cookie time!

I really like special plates and napkins for parties, holidays, and special occasions. But have you noticed how expensive they can be?
For this party I found these cute plastic plates and cups and splurged on buying them. I think I paid about $2 each, but we have reused them for many occasions over the past 25 years, so they have paid for themselves. (They are 1999 8″ vintage plates and 4″ cups, and you can still find some on eBay for about $20 per set.)
Of course, any plates will work!
The birthday “cake” was a large chocolate chip cookie cake, baked on a round pizza pan. The recipe shown above is a perfect fit when flattened to 1/2″ from the edges of the round pan and baked at 375 degrees for about 20 minutes. You can keep the cookie cake on the pan to cool and serve.

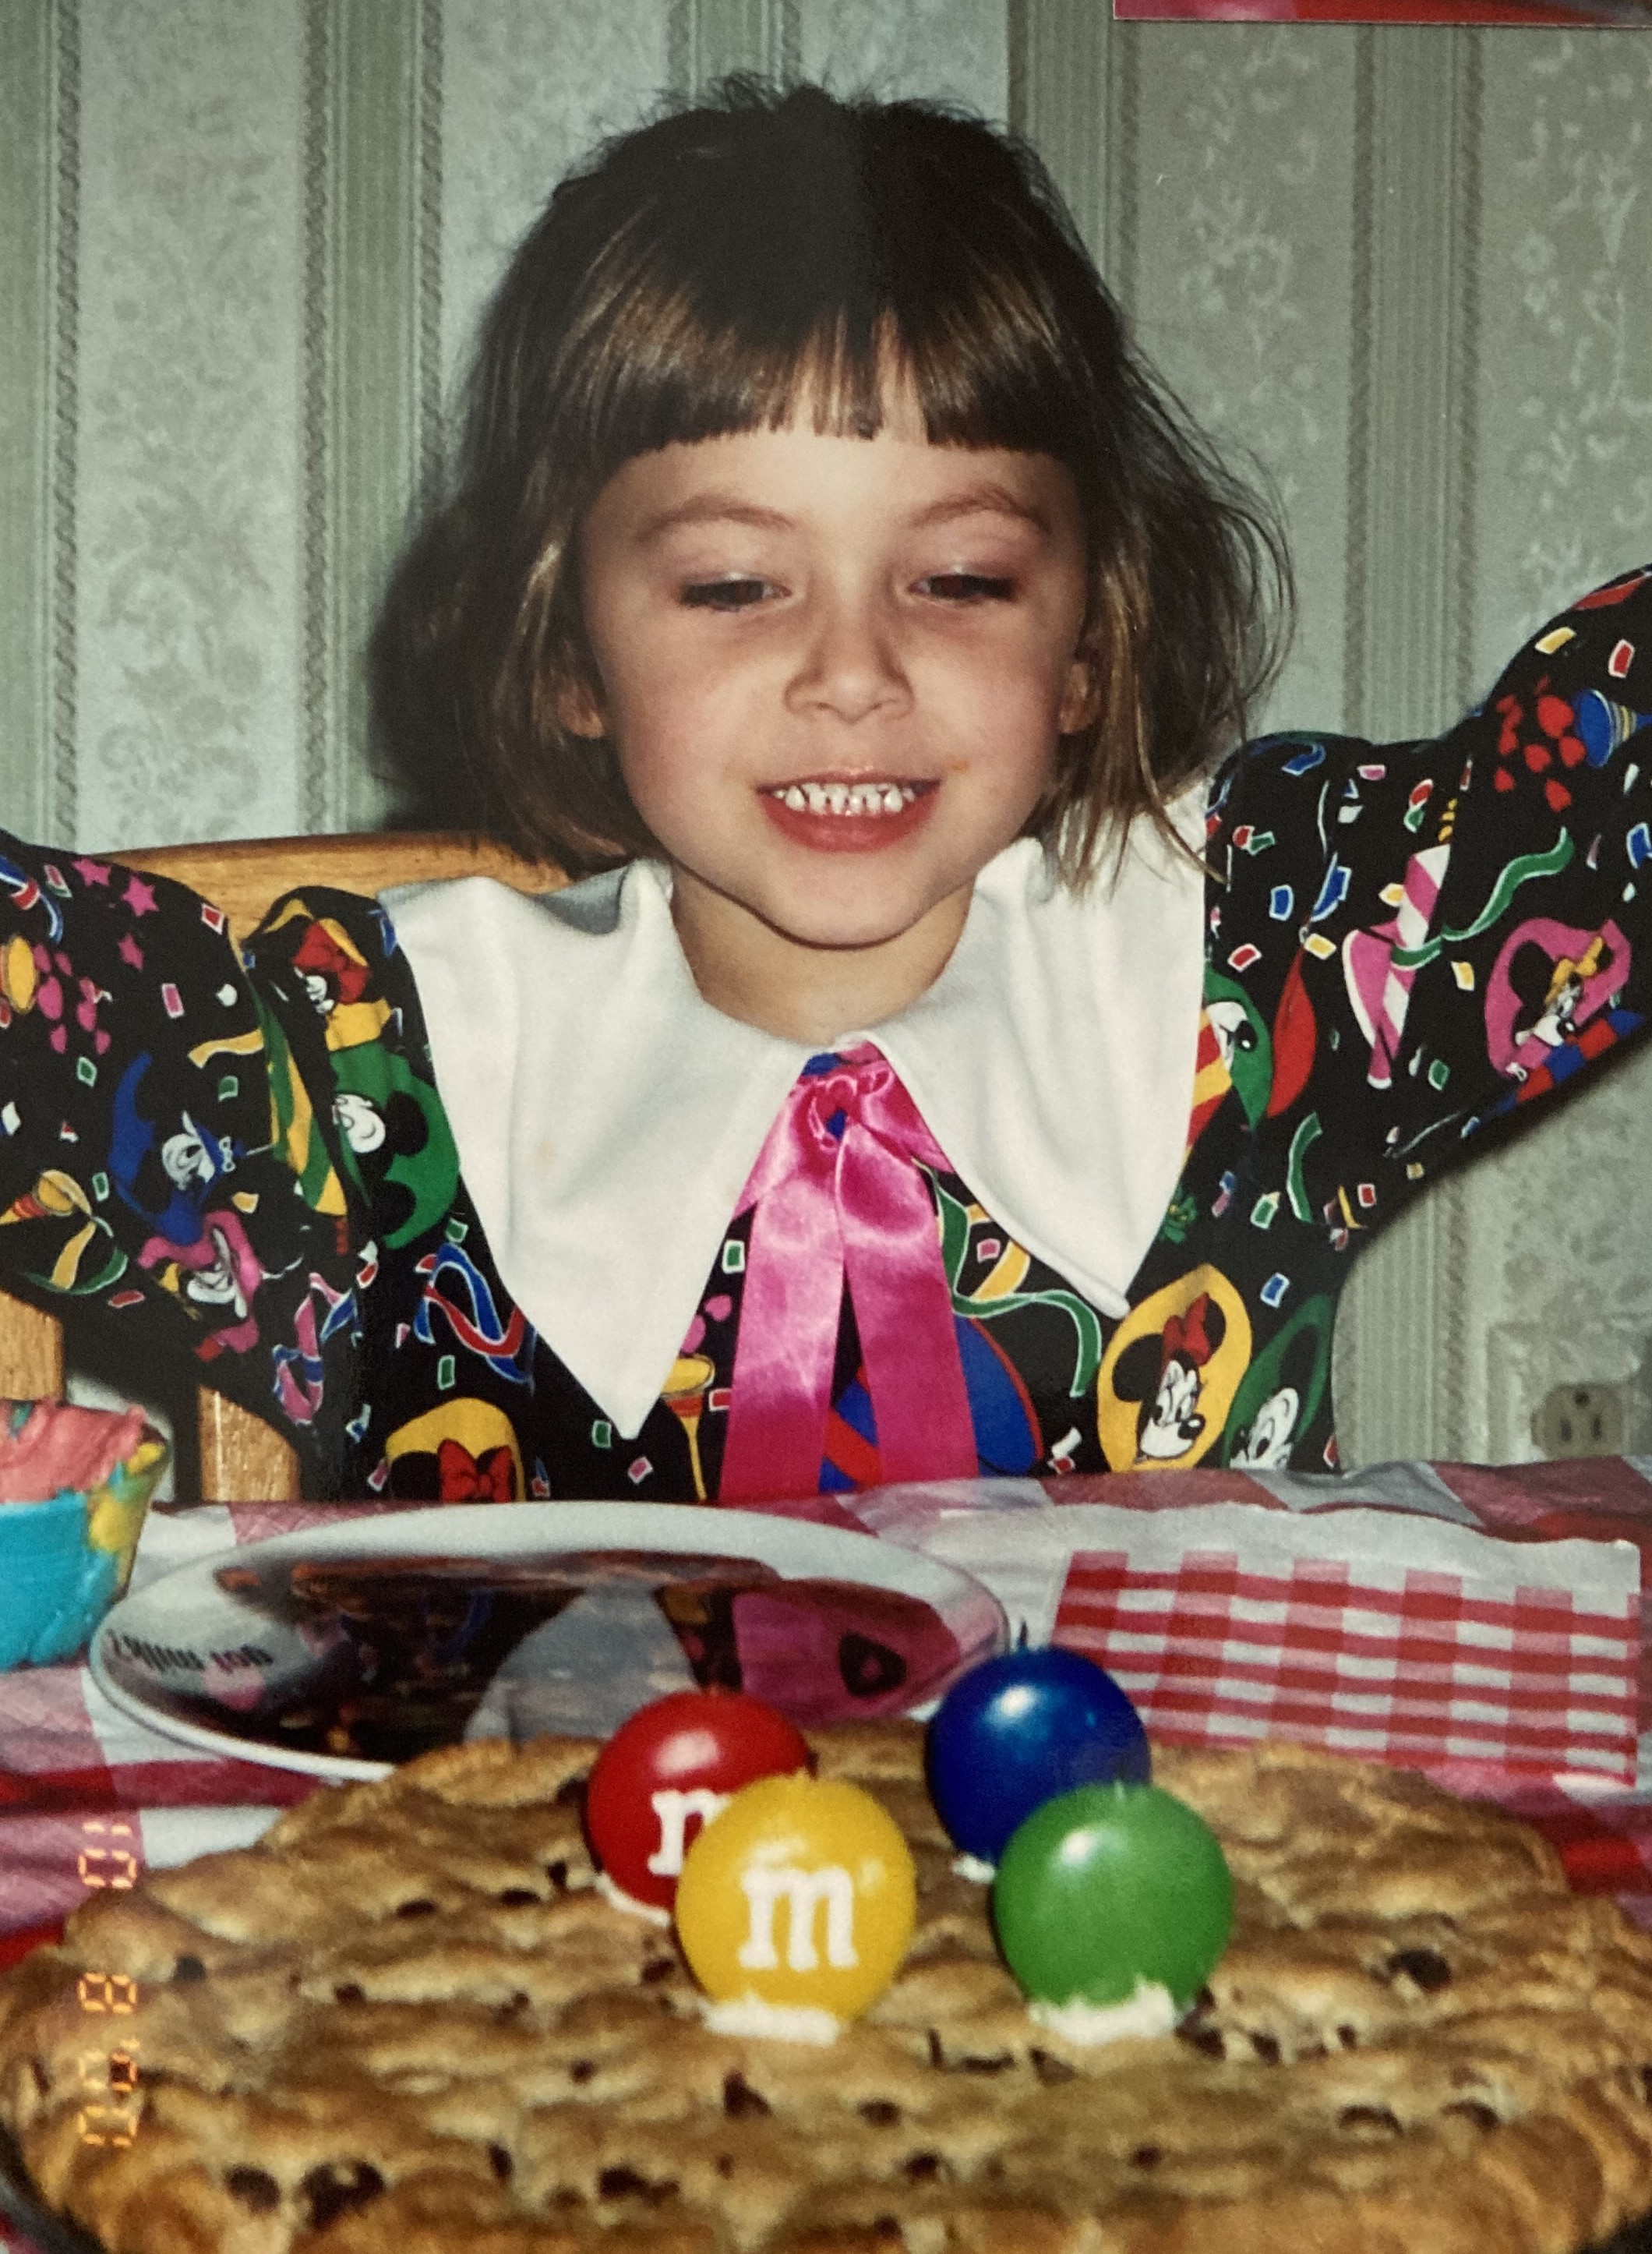
The M & M candles were a fun touch, but any birthday candles would be fine.
Each child was served a slice of the cookie cake and was allowed to decorate it with his/her choice of icings and sprinkles. Some icing in tubes and some in bowls gave kids the option of squeezing or spreading or both. There were some artistic cookie creations for sure!


Remember that pizza making and cookie decorating can be fun for any age and any occasion!
“It’s okay to play with your food.”
Emeril Lagasse
