Pizza is in itself the entire food pyramid. Great for parties and fun for kids of all ages, personal pizzas can turn meal prep into play. The homemade dough takes a few hours to rise, so allow plenty of time. It’s great for a holiday, weekend, or bad weather day off.
Activate the yeast. Getting the right temperature for yeast to rise is not as difficult as it may seem. The recommended temperature for active dry yeast is 100-110 degrees Fahrenheit, and you can certainly use a thermometer to measure the temperature of your water, but it doesn’t have to be that precise. I have learned that tap water as hot as I can touch without being unbearable is within the recommended temperature range.
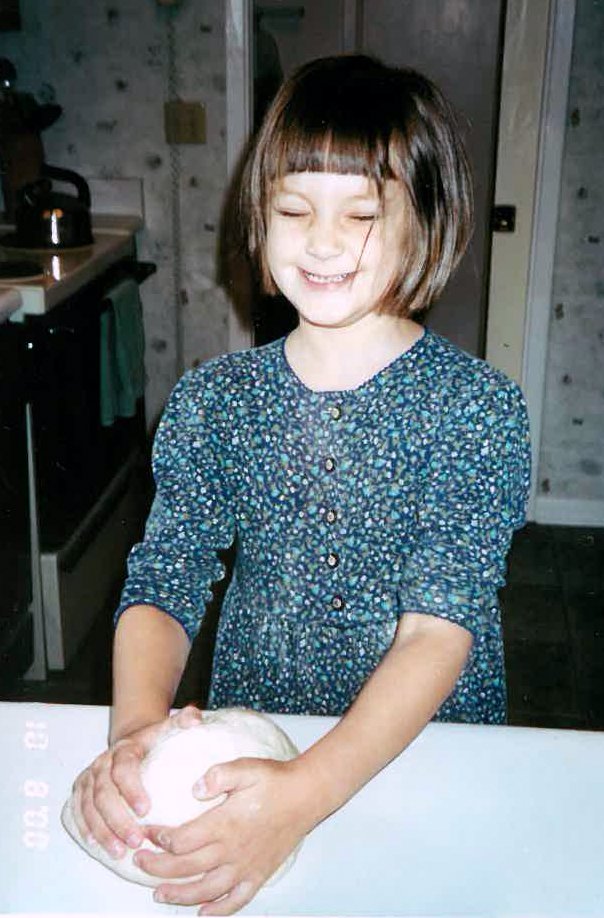
Knead the dough. Have the kids wash their hands and set them to work kneading the dough. It’s as satisfying as molding playdough, and they can’t really do it wrong. Make sure there’s plenty of flour on the countertop or work surface to prevent sticking, and expect a little mess. Flour will get on their hands, clothes, and probably the floor. It’s worth it. You can give the dough a few quick turns yourself to be sure it’s soft and pliable and ready to put into the bowl.


Let it rise. Thoroughly grease the inside of a bowl and then roll the dough around in it before covering the bowl with a damp towel. I like to use a dishtowel that isn’t too heavy for the dough to push up as it rises. Depending upon the temperature of my kitchen, I’ve found this dough recipe can double in size in less than 2 hours or up to 3 hours, so it’s important to check occasionally. I usually use the same bowl each time and I can tell by the bulge in the dishcloth whether or not it is ready.
Punch! This simple step can be amazing for little chefs. After washing hands, the child can make a fist and punch the center of the risen dough, causing the dough to deflate and the child to feel powerful.
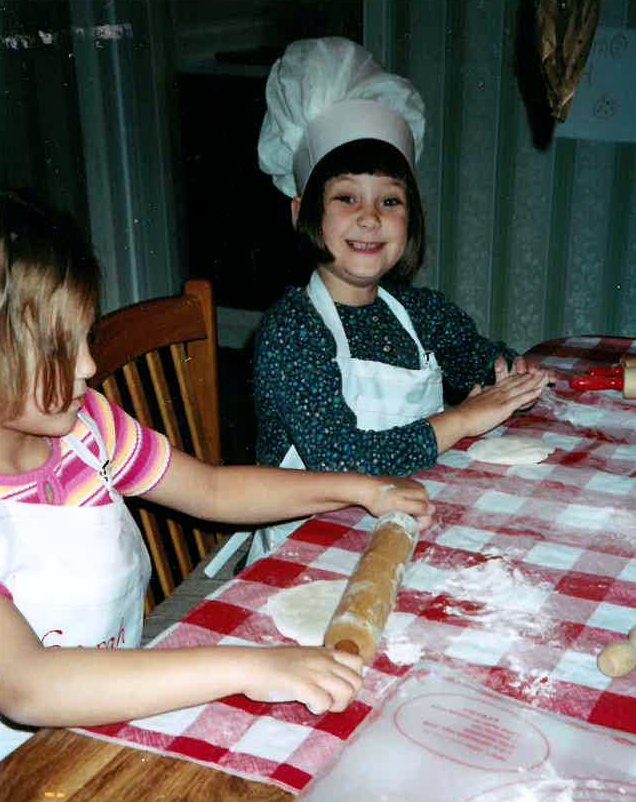
Roll, poke, brush, and bake. Sprinkle a little flour on the table in front of each child, divide the dough into pieces, and let them roll, pat, stretch, or flip their dough into desired shapes. Some children try to make their pizza crusts very round while others may think it’s fun to try to create a heart or an oval. Generally any shape or thickness of crust will work just fine. After placing the crust on a baking sheet the child can poke it all over with a fork and then brush olive oil on top using a pastry brush. These are all steps that young children can do easily with a little supervision. Yes, there will (again) be flour on hands and clothes, and olive oil will probably drizzle on the table. If you have more than one child and if you think they’ll care (mine did), make sure to create a way to remember whose crust is whose. I usually draw a diagram of the baking sheet indicating placement of each person’s pizza and lay the drawing on a counter next to the oven.

Prepare toppings. One of the most useful tools for preparing toppings is a gadget we called the “chopper-chopper.” Put onions, peppers, mushrooms, or other veggies on a cutting board, set the chopper on top, and whack the handle repeatedly until the veggies are the size you want. The more you whack, the smaller the pieces. Serious fun for kids. You can get a handheld chopper for less than $20.
Make it personal! It’s all about choices. A little sauce or a lot of sauce. Orange cheese, white cheese, no cheese, or both cheeses. Veggies or no veggies. Meats or no meats. Extra herbs or not. Any combination of toppings is okay. At this stage it’s especially important to keep track of whose pizza is whose, but as each pizza is unique the child will probably recognize his own creation when it comes out of the oven.

Enjoy! The pizzas will be very hot fresh from the oven, but after a few minutes of putting away toppings and cleaning up the table the pizzas will be ready to eat! Yum!

Because this entire process takes several hours, I have learned that it works well to double or triple the dough recipe and bake all of the crusts one day but only add toppings to those we will eat right away. Extra crusts can be refrigerated or frozen and pulled out for a very quick meal at another time. All you need to do later is add toppings and bake 5 minutes.
Here’s my recipe:
- 1 pkg. (1/4 oz.) active dry yeast
- 1 3/4 cup all-purpose flour
- 1 tsp. salt
- 1 T. olive oil
- extra olive oil for brushing on crusts
- 1/2 cup pizza sauce
- 1 1/2 cups shredded cheese (Mozzarella, Monterrey Jack, Parmesan, or other)
- toppings: pepperoni, cooked sausage, bell peppers, onions, mushrooms, basil, etc.)
Dissolve yeast in 1/2 cup plus 2 T. warm water (100-110 degrees Fahrenheit). Stir and let set 5 minutes. In medium bowl, combine flour and salt.
Add yeast mixture and olive oil to flour and salt. Mix dough with hands until ingredients form a ball.
Place dough on lightly floured work surface. With floured hands, knead 5-6 minutes until smooth and pliable. If dough is too sticky, add a little more flour.
Place dough in large, lightly greased bowl and turn dough in bowl to coat.
Cover bowl with damp, clean kitchen towel and let rise in a warm, draft-free place about 3 hours. Dough should double in size and be springy.
Heat oven to 425 degrees Fahrenheit. Punch dough down with fist and place on lightly floured work surface. Divide dough into 6 equal pieces.
Roll out each portion of dough, gently stretching it with floured hands, into a 5-6″ circle. Place on baking sheet. Prick with a fork and brush with additional oil.
Bake crusts about 10 minutes. While crusts are baking, prepare toppings by shredding cheese, chopping vegetables, etc.
Top baked crusts with pizza sauce, cheese, and choice of toppings. Bake 5-6 minutes more at 425 degrees Fahrenheit or until cheese is melted.
Cooking with kids is not just about ingredients, recipes, and cooking. It’s about harnessing imagination, empowerment, and creativity.
Guy Fieri
